Chunky Crochet Pumpkin
This post may contain referral/affiliate links. Please read my disclosure for more info.
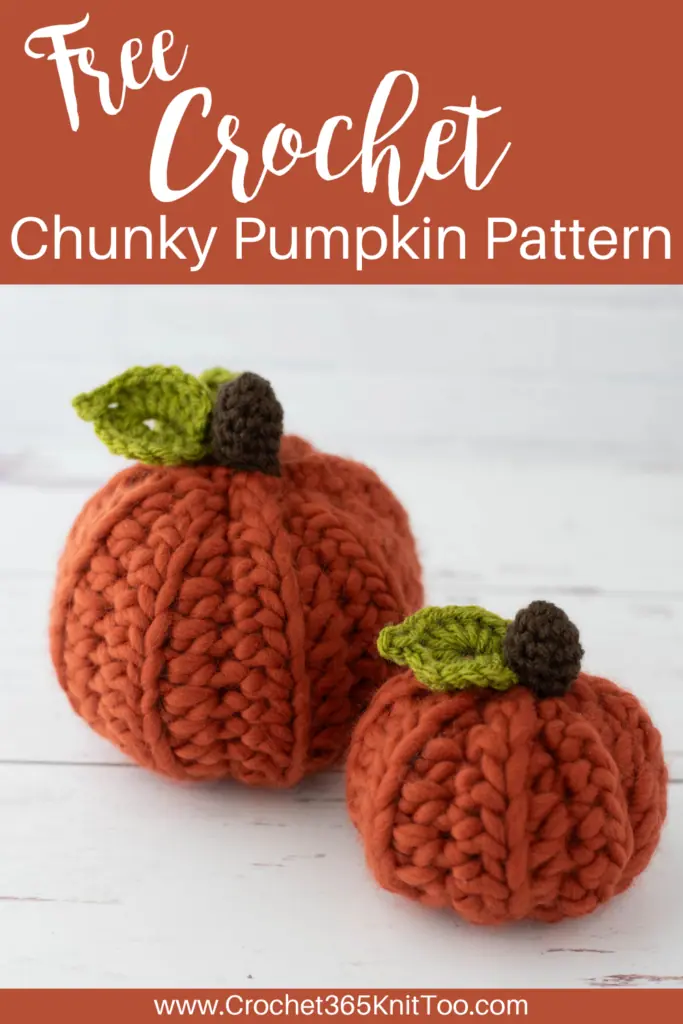
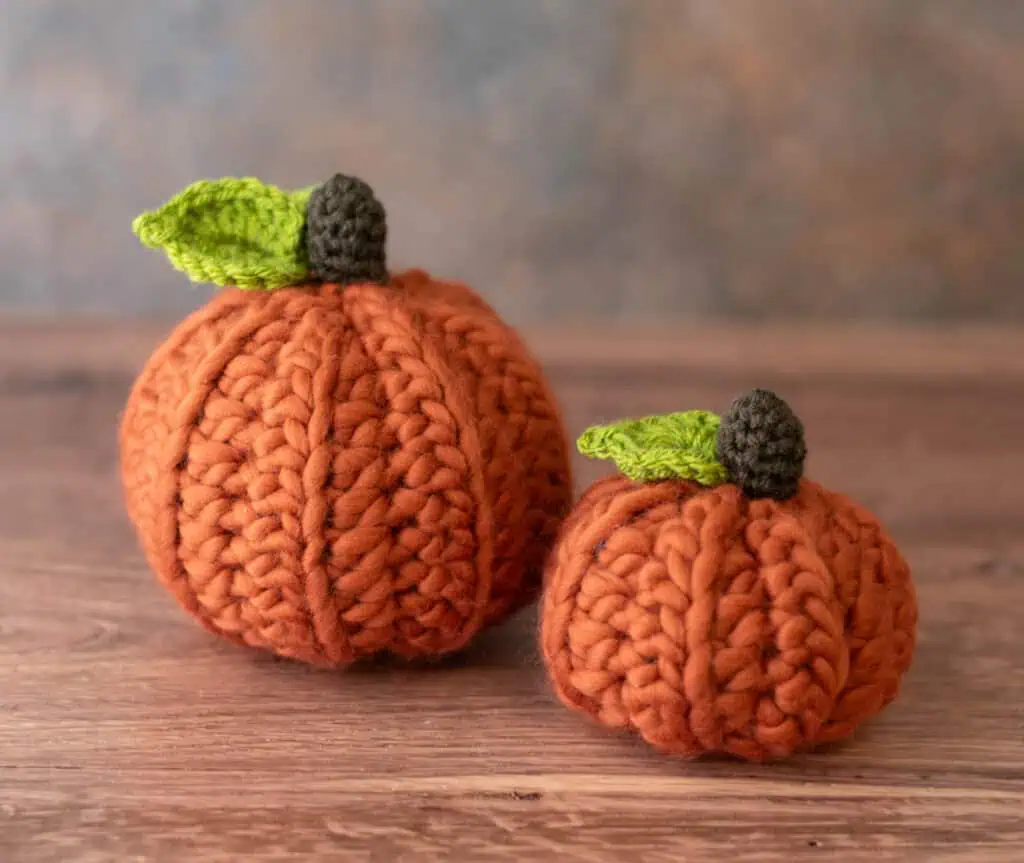
Welcome to your most favorite crochet pumpkin pattern of the season. This stunning and delightfully simple Chunky Crochet Pumpkin.
How can a little crochet project.. one that takes such a short time to make.. completely come into your life and steal your heart? I’m not even sure. But this darling pumpkin has all the things I love best in a project.
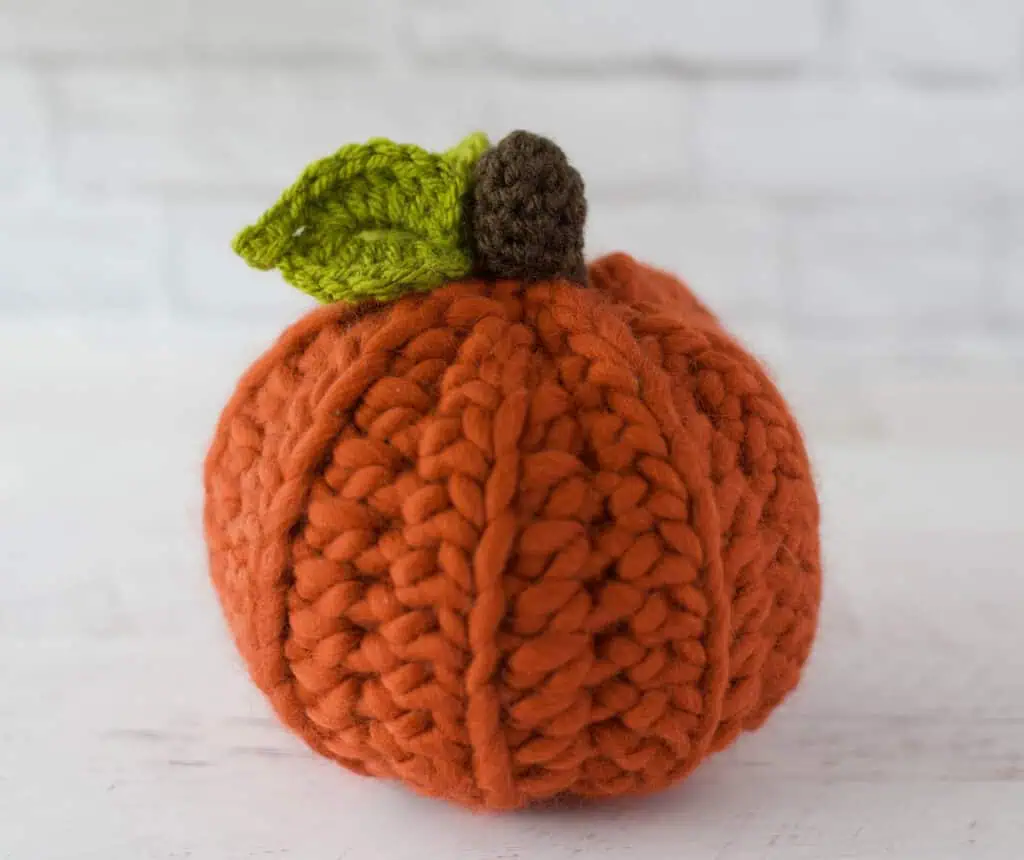
Let’s start with the star of the show: Alla Prima Super Bulky weight yarn. This yarn might just make you swoon. It is a soft, one ply, 100% merino wool. It’s like it was MADE for this pumpkin. Even the Terra Cotta color is perfection!
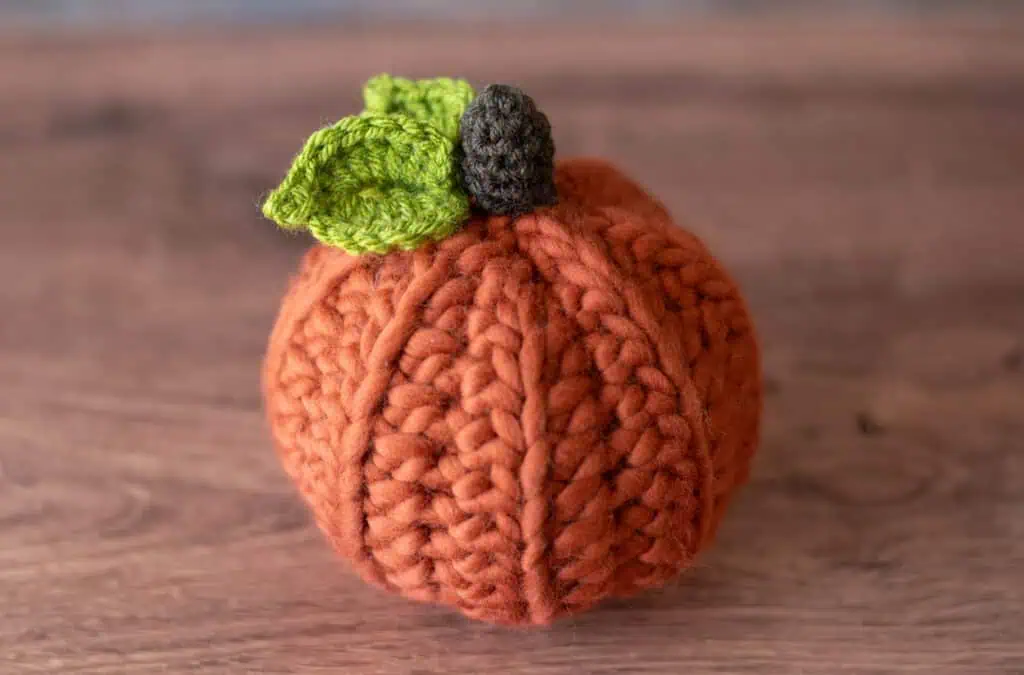
Because the yarn is both one ply and wool, it expands and fills any potential gap in the crochet with yarny goodness. I don’t even know how else to describe it. Since the yarn is super bulky weight and the stitches are worked in the back loop, the pumpkin ridges form naturally in perfect proportion with the pumpkin.
I’m not even kidding. This is one instance where I highly, highly recommend you pop over to WeCrochet and buy the exact yarn for the project. The Terra Cotta color is perfection too.
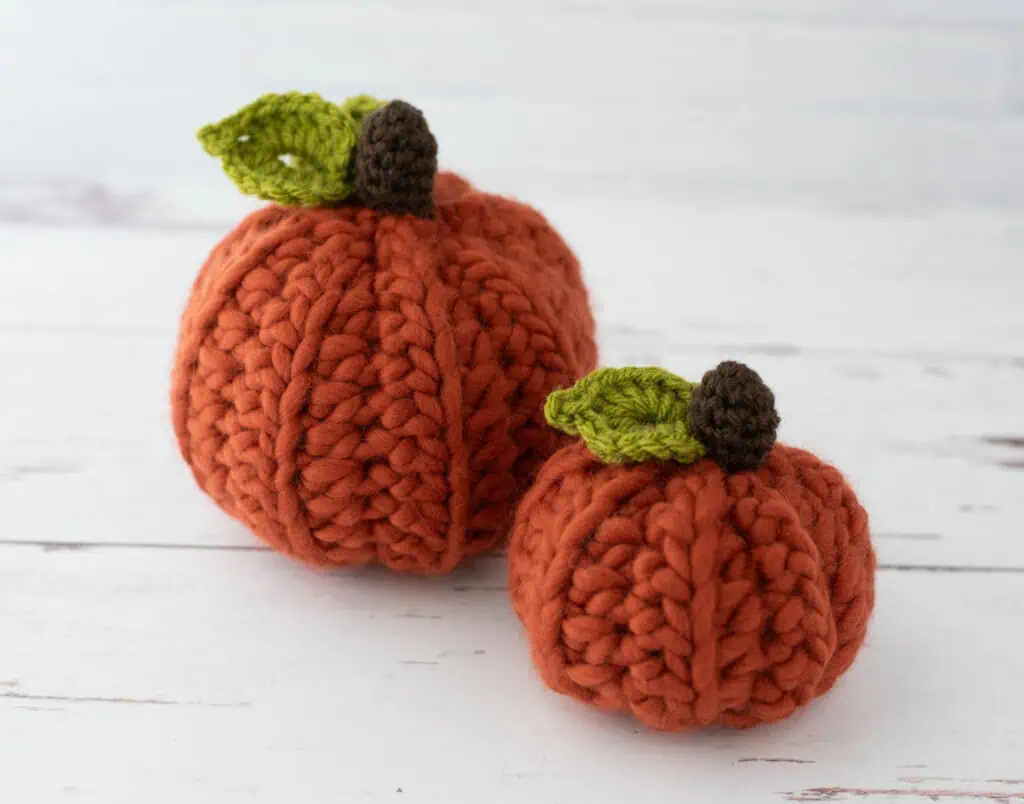
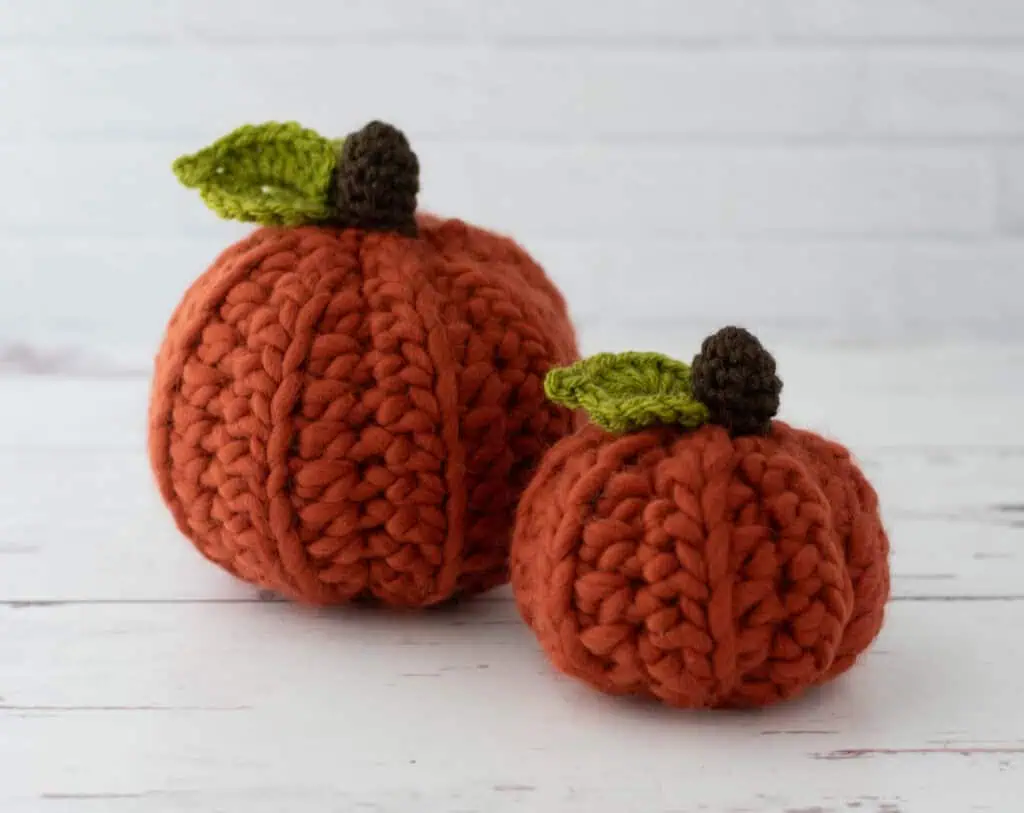
I was originally hoping to get 2 of the larger pumpkins out of one skein of yarn, but no luck. So I made a bonus small pumpkin to go along with the larger one. For scale, the “large” chunky pumpkin is actually the same size as my medium pumpkin, my textured pumpkin and my plaid pumpkin patterns. They all look pretty amazing together on the shelf in my living room!
The large and small chunky pumpkin do use almost every bit of the skein. So if you tend to crochet a little bigger than I do, just know that you might not be able to get the small pumpkin out of the leftover yarn. Or just buy more yarn to accommodate. (You also can leave off a row on the small pumpkin to save a bit of yarn too).
Let’s dive into these delectable pumpkins!
Chunky Crochet Pumpkins
Materials
Here is what you will need:
- Crochet Hook Sizes:
- L/11 8.00 mm for pumpkins
- G/6 4.00 mm for stem and leaves
- 52 yards Super Bulky Weight (#6) yarn. Sample used WeCrochet Alla Prima in Terracotta color (#R531) This is a single ply, 100% Merino Wool yarn. *See notes on yarn below
- Scraps of brown and green yarn for stem and leaves (sample used WeCrochet Brava Worsted Weight yarn in Carob and Avocado)
- Fiberfill Stuffing
- Tapestry needle and scissors
Gauge:
9 stitches per 4 inches with the yarn and hook size given. *See notes on yarn
Resources and tutorials you may find helpful in following this pattern: Crochet Abbreviations, US to UK Crochet Conversion Chart. Find links to stitches on the “Tutorial” menu: Getting Started will show basic stitches used in many patterns and Crochet Stitch Dictionary shows our growing collection of crochet stitch tutorials.
Yarn Notes:
Alla Prima yarn is a super bulky weight #6 yarn. It is a single ply and made of 100% wool. This works exceptionally well in this pattern because the nature of the yarn (both the ply and the wool) creates a full, somewhat dense texture that makes the pumpkin ribs pronounced and does not show any stuffing through the finished pumpkin.
The yarn is easy to crochet with, however care must be taken at the end when sewing the pumpkin so that the yarn does not break. If it does, just use a new piece and continue on.
With the gauge above, I was able to get both pumpkins out of 1 skein of Alla Prima yarn with very little left over. If your gauge is larger, your results may vary. I recommend making the large pumpkin first. If you find you are running low on yarn with the smaller pumpkin, simply omit the last row. You can also use a coordinating yarn to sew the seams, if necessary (or if you find that easier).
Crochet Abbreviations
- BLO = work stitches in back loop only
- ch = chain
- sc = single crochet
- hdc = half double crochet
- dc = double crochet
- sl st = slip stitch
- st = stitch(es)
Chunky Pumpkin Sizes
Excluding leaves and stem, the large pumpkin measures 4.5” wide x 4.25” tall. The small pumpkin measures 3.5” wide x 3” tall.
Large Pumpkin
Using a L/8.00 mm hook, Chain 14
R1: sc in 2nd chain from hook, hdc in each of the next 11 ch, sc in last ch. Turn. (13 st)
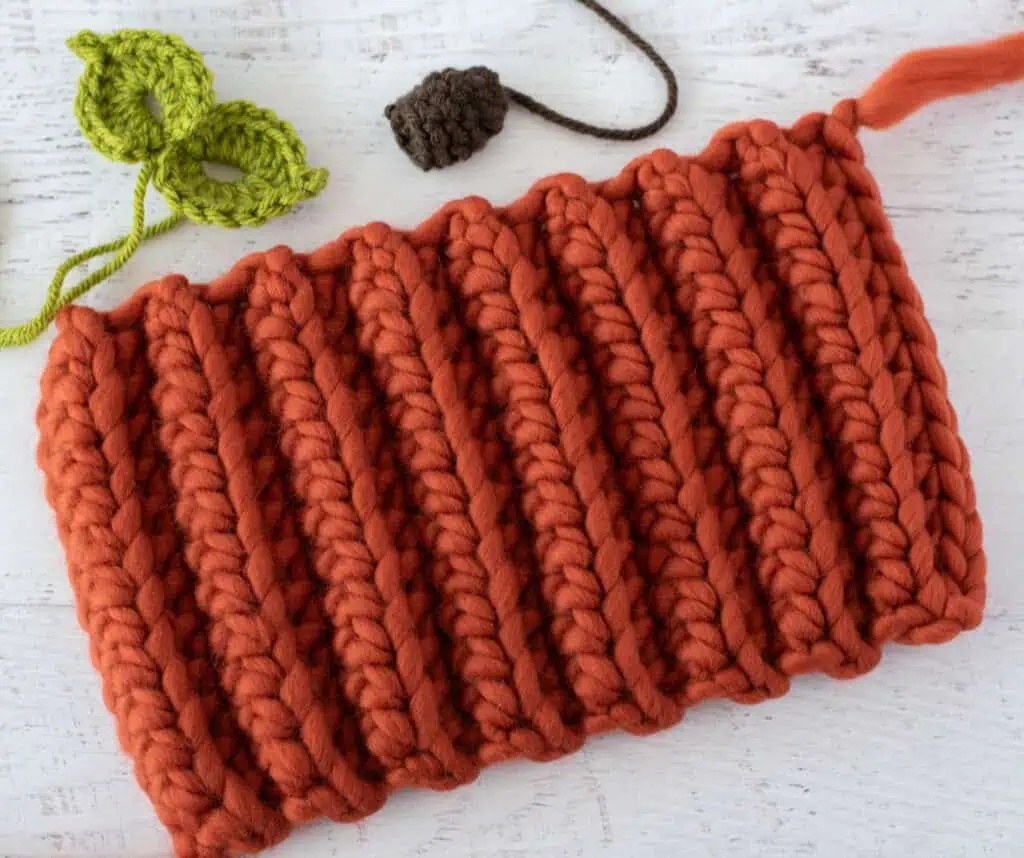
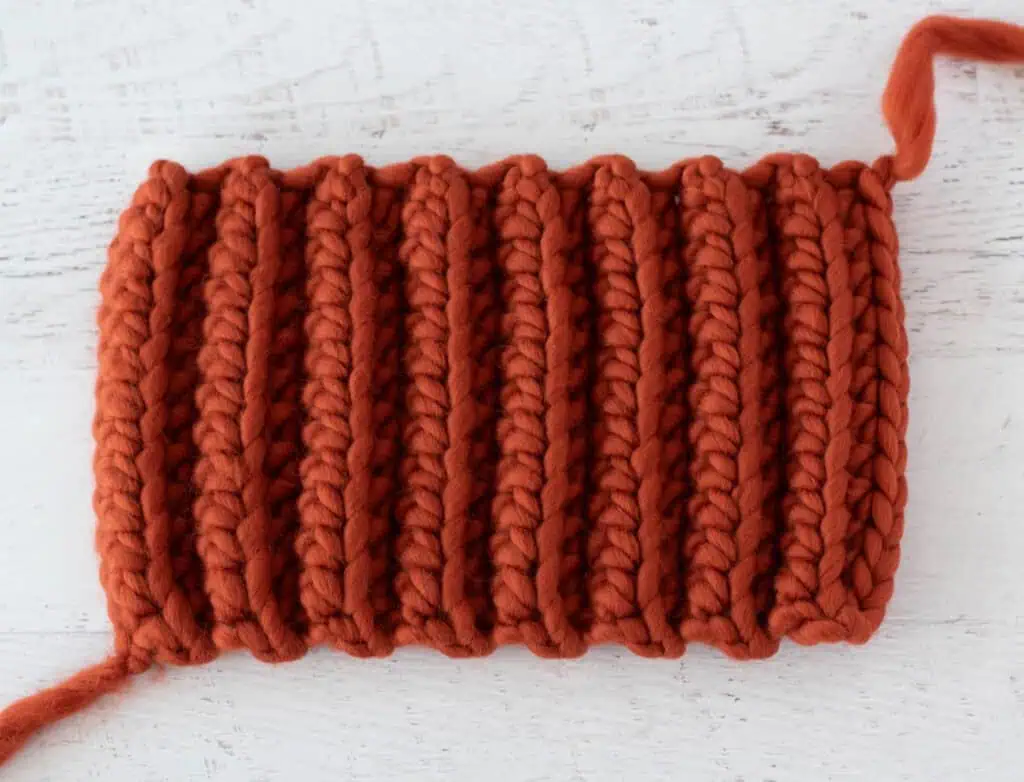
R2-16: ch 1, working in BLO, sc in next st, hdc in next 11 st, sc in last st. Turn. (13 st)
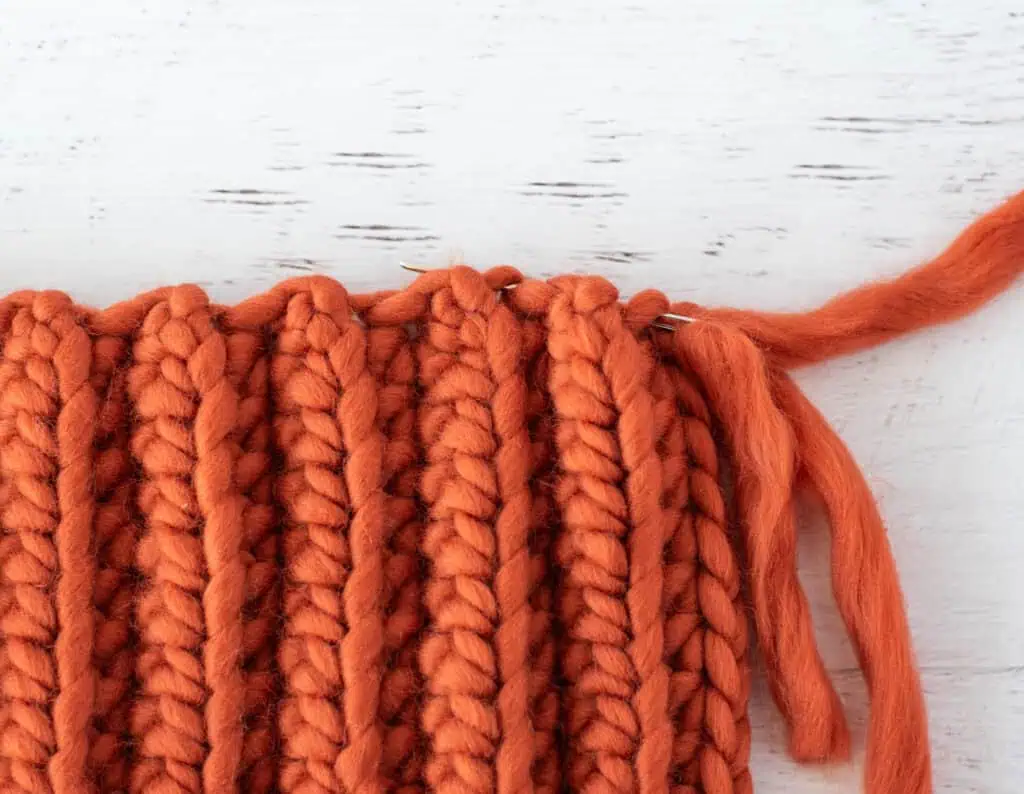
At the end of row 16, the pumpkin is a rectangle of ribbed crochet.
Small Pumpkin
Using a L/8.00 mm hook, Chain 9
R1: sc in 2nd chain from hook, hdc in each of the next 6 ch, sc in last ch. Turn. (8 st)
R2-14: ch 1, working in BLO, sc in next st, hdc in next 6 st, sc in last st. Turn. (8 st)
At the end of row 14, the pumpkin is a rectangle of ribbed crochet.
Stem
Using a G/4.00 mm hook, make a magic ring
R1: 8 sc into ring (8 sts).
R2-5: sc around. At end of 3rd round, slip stitch to next stitch and finish off, leaving a long strand for sewing. Stuff.
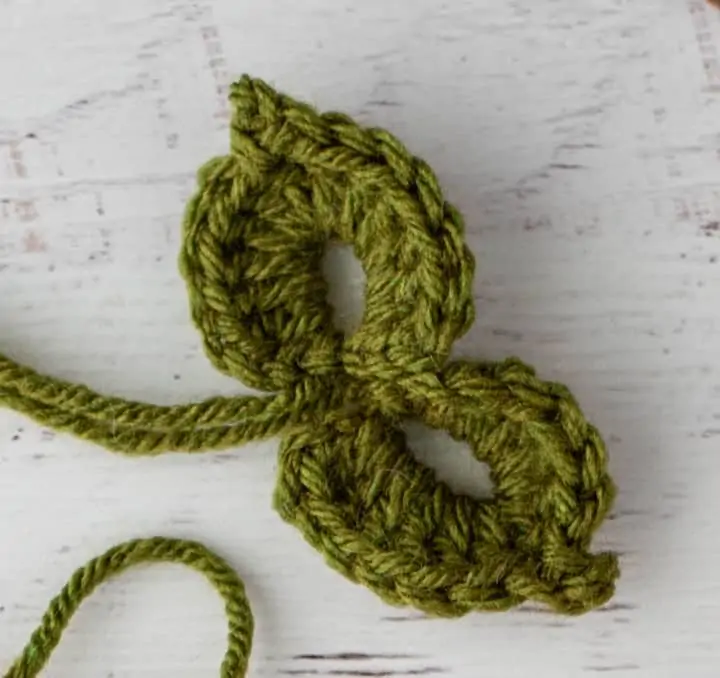
Leaves for Large Pumpkin
The large pumpkin has 2 leaves.
Using a G/4.00 mm hook, ch 8 and join to form ring.
R1 in the ring just made work all of the following: ch 2, 6 dc, ch 3, sl st to 1st ch, 6 dc, ch 2, sl st.* One leaf made. Do NOT fasten off. Repeat from * to * to make a 2nd leaf. Then, fasten off, leaving a long strand for sewing.
Leaf for Small Pumpkin
The small pumpkin has one leaf.
Using a G/4.00 mm hook, ch 8 and join to form ring.
R1 in the ring just made work all of the following: ch 2, 6 dc, ch 3, sl st to 1st ch, 6 dc, ch 2, sl st.* Fasten off, leaving a long strand for sewing.
How to Seam the Pumpkins
Rotate your work so that the starting row is on the left and the ending row is on the right.
Whip stitch the starting row and the ending row together.
You now have a tube.
Use a tapestry needle to work a running stitch across the top edge of the stitches and cinch one end closed. Knot and fasten off, hiding the end inside the pumpkin. You now have what looks like a miniature hat.
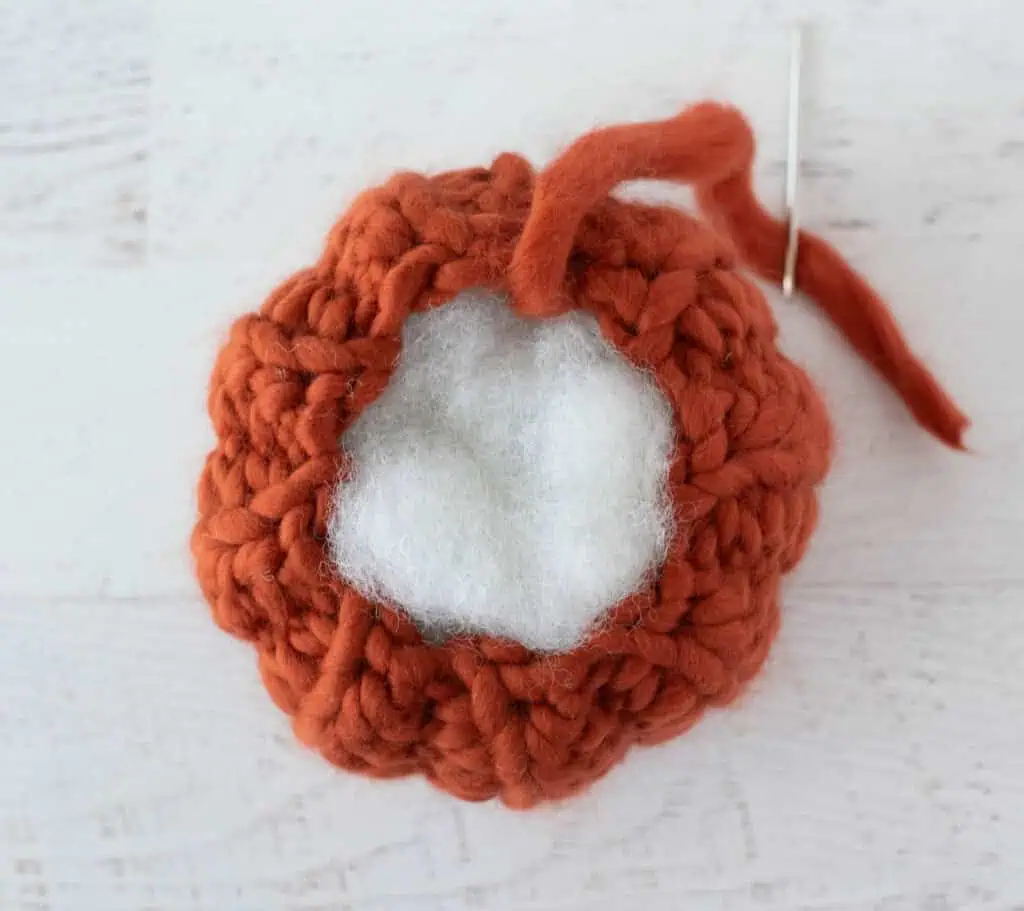
Stuff the pumpkin, then use a tapestry needle and yarn to work a running stitch along the opposite edge of the pumpkin. Pull tight to close, knot and fasten off.
Sew the stem and leaf/leaves in place on top of the pumpkin.
I love seeing your finished projects! If you enjoyed making the Chunky Crochet Pumpkin, I’d love to see yours on Instagram, be sure to tag me @crochet365knittoo. If you are on Facebook, stop over to the Crochet 365 Knit Too Facebook page or pop over to the Crochet365KnitToo Club and share a photo! I’d love to see your work!